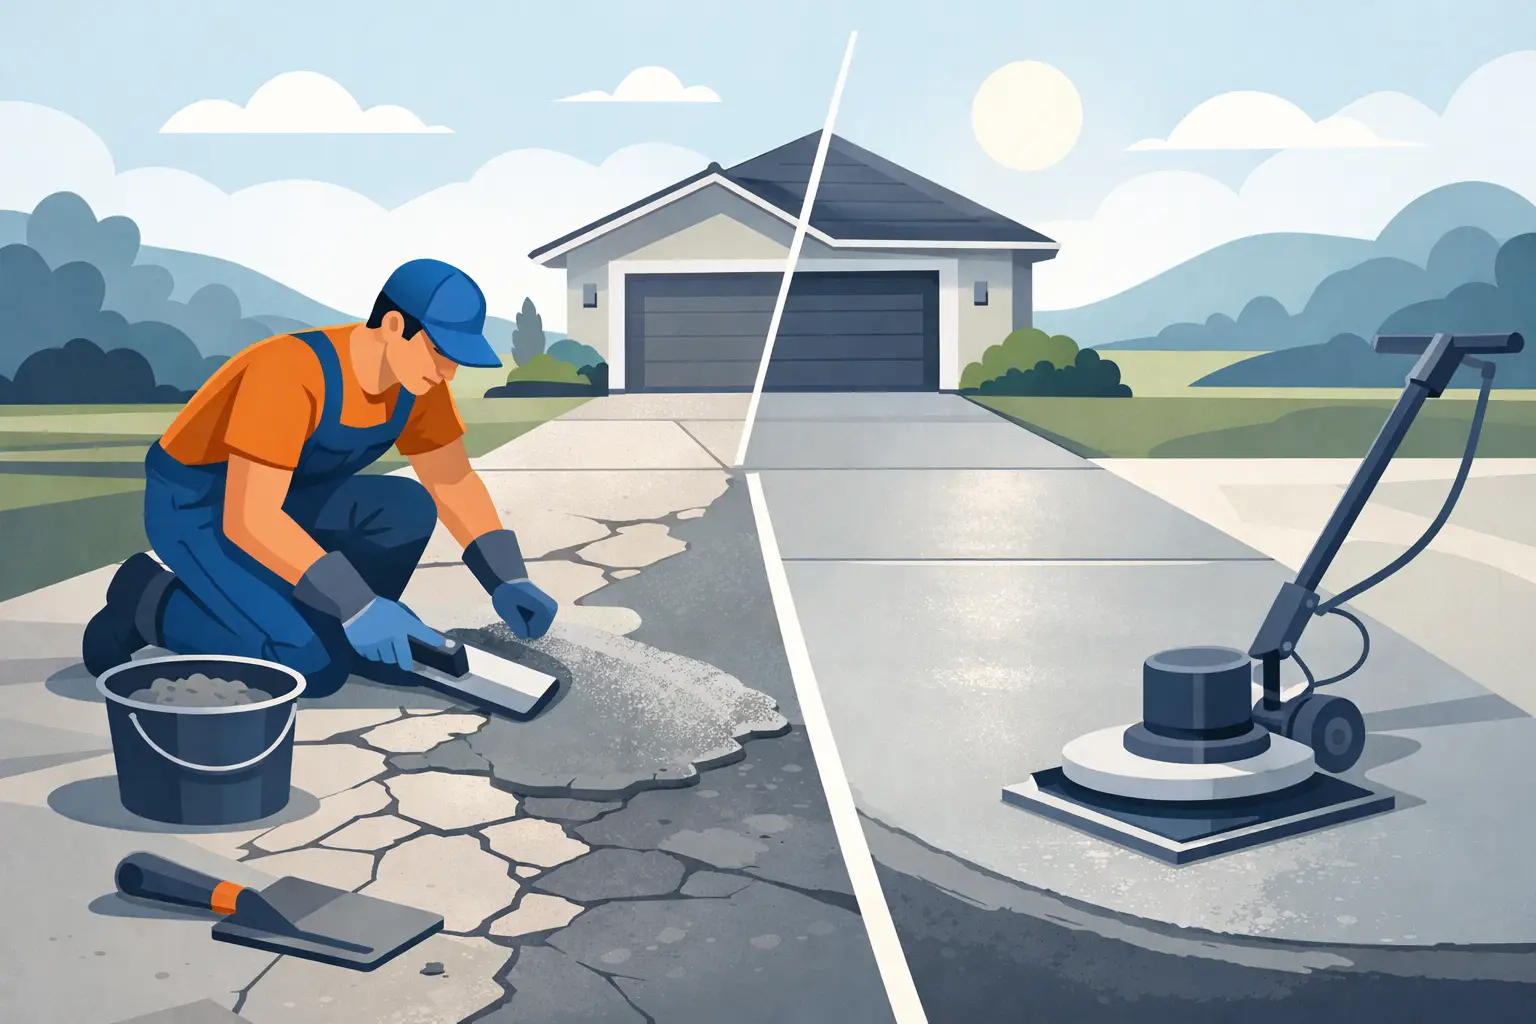
A driveway can look worn out long before it has reached the end of its service life. Surface cracking, stains, scaling, and rough patches make an entrance look neglected, but they do not always mean the concrete needs full replacement. Knowing how to repair and resurface concrete driveway surfaces helps property owners make a sound decision before minor damage becomes a larger, more expensive problem.
The key is to separate cosmetic wear from structural failure. A properly repaired and resurfaced driveway can provide a smooth, durable finish that stands up to daily vehicle traffic and weather exposure. But applying a thin overlay over movement, deep cracks, drainage problems, or failing concrete only hides the damage for a short time.
Start With an Honest Assessment
Walk the driveway in dry conditions and look closely at the cracks, edges, low areas, and surface texture. Hairline cracks, light spalling, shallow flaking, and discoloration are often good candidates for repair and resurfacing. These problems may affect appearance and allow water into the surface, but the slab itself can still be strong.
Full-depth cracks, large sections that have settled, heaving from frost or tree roots, and loose or crumbling concrete require a different approach. If one side of a crack sits noticeably higher than the other, the slab is moving. A resurfacing material will not stop that movement. The repair may involve removing damaged sections, improving the base, correcting drainage, or replacing the driveway altogether.
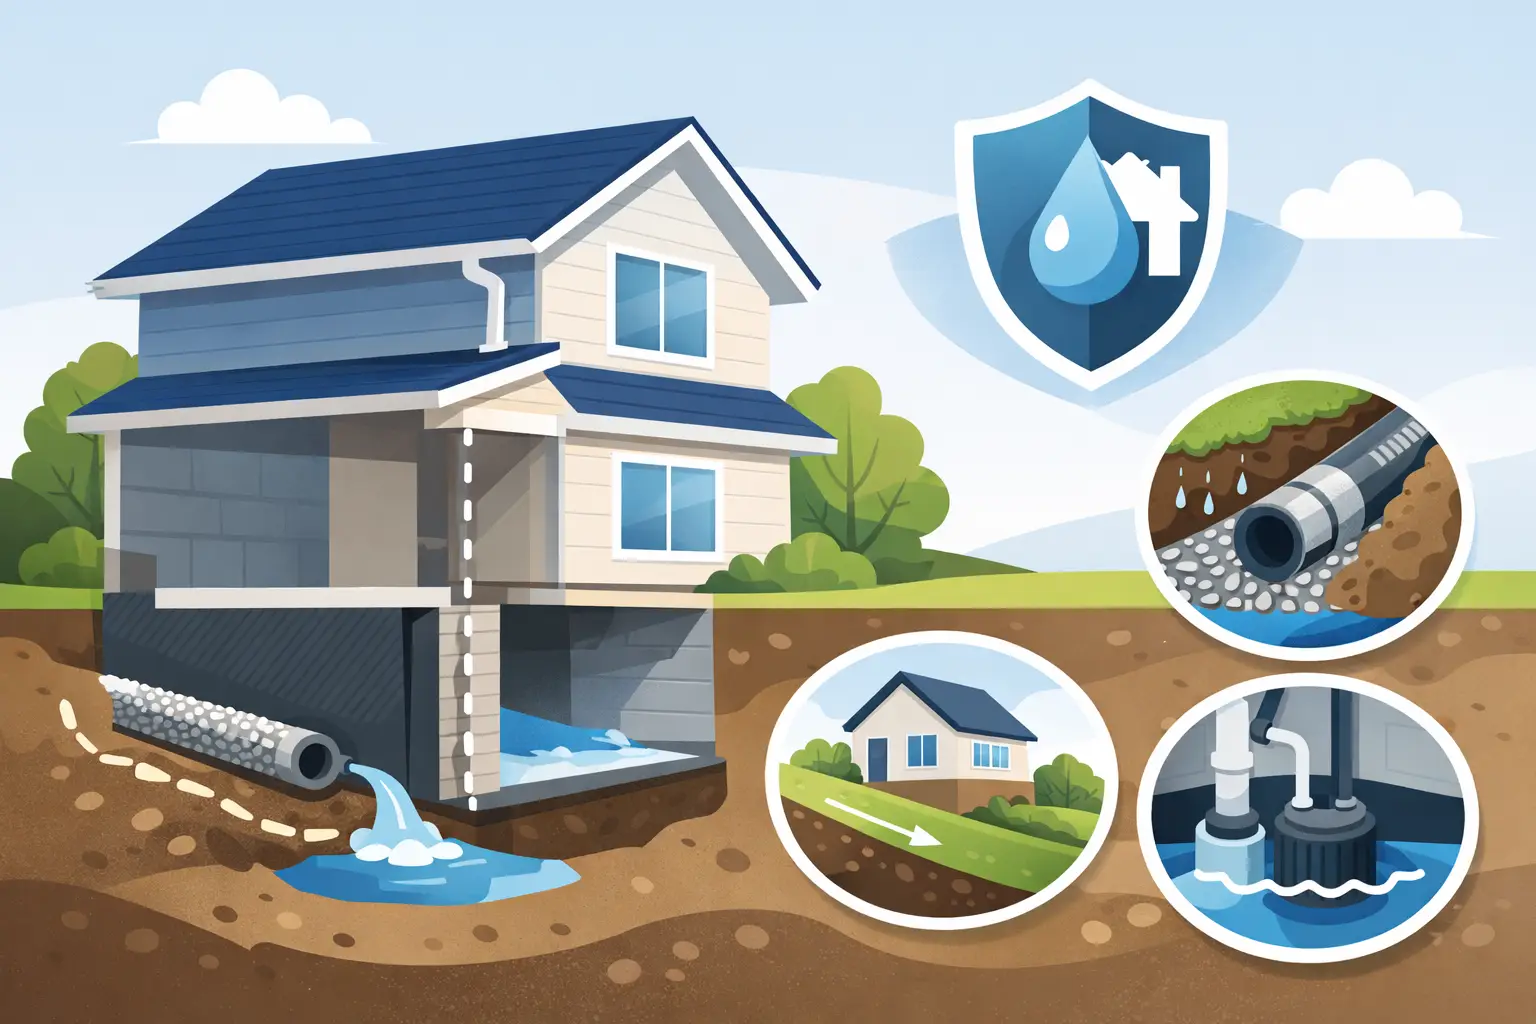
Pay close attention to water. Puddles after rain, runoff flowing toward a garage or foundation, and water collecting along driveway edges can shorten the life of any repair. Concrete needs proper slope and dependable drainage to stay strong. Addressing water management first protects the resurfaced finish and the property around it.
Gather the Right Materials and Prepare the Area
A lasting result starts with preparation, not with the final coating. Choose a concrete repair product for cracks and broken edges, along with a polymer-modified concrete resurfacer rated for exterior driveways. Check the manufacturer’s temperature range, mixing instructions, and curing requirements before scheduling the work.
You will generally need a pressure washer, stiff brush, concrete cleaner or degreaser, crack repair material, mixing pail, drill with mixing paddle, squeegee, trowel, and protective gloves and eyewear. For larger areas, having enough help to mix and spread material continuously matters. Resurfacer begins to set quickly, especially in warm or windy conditions.
Plan the work for a dry stretch of moderate weather. Avoid resurfacing when the concrete is extremely hot, when rain is expected during the curing period, or when overnight temperatures may fall below the product’s recommended range. Direct sun and high heat can pull moisture from the mix too fast, making it harder to achieve a smooth, reliable bond.
How to Repair and Resurface a Concrete Driveway
Clean the concrete thoroughly
Remove vehicles, planters, loose debris, and anything resting on the driveway. Pressure wash the entire surface to remove dirt, moss, loose concrete, and old surface contaminants. Oil spots need extra attention. Use a suitable degreaser, scrub the area, rinse thoroughly, and repeat if necessary.
Paint, sealers, curing compounds, and heavy oil contamination can prevent resurfacer from bonding. The concrete should feel solid and clean, with no peeling coating or loose material remaining. Let the surface dry enough to inspect it, then dampen it before application if the product instructions call for a saturated surface-dry condition. That means the concrete is damp without standing water.
Repair cracks, holes, and damaged edges
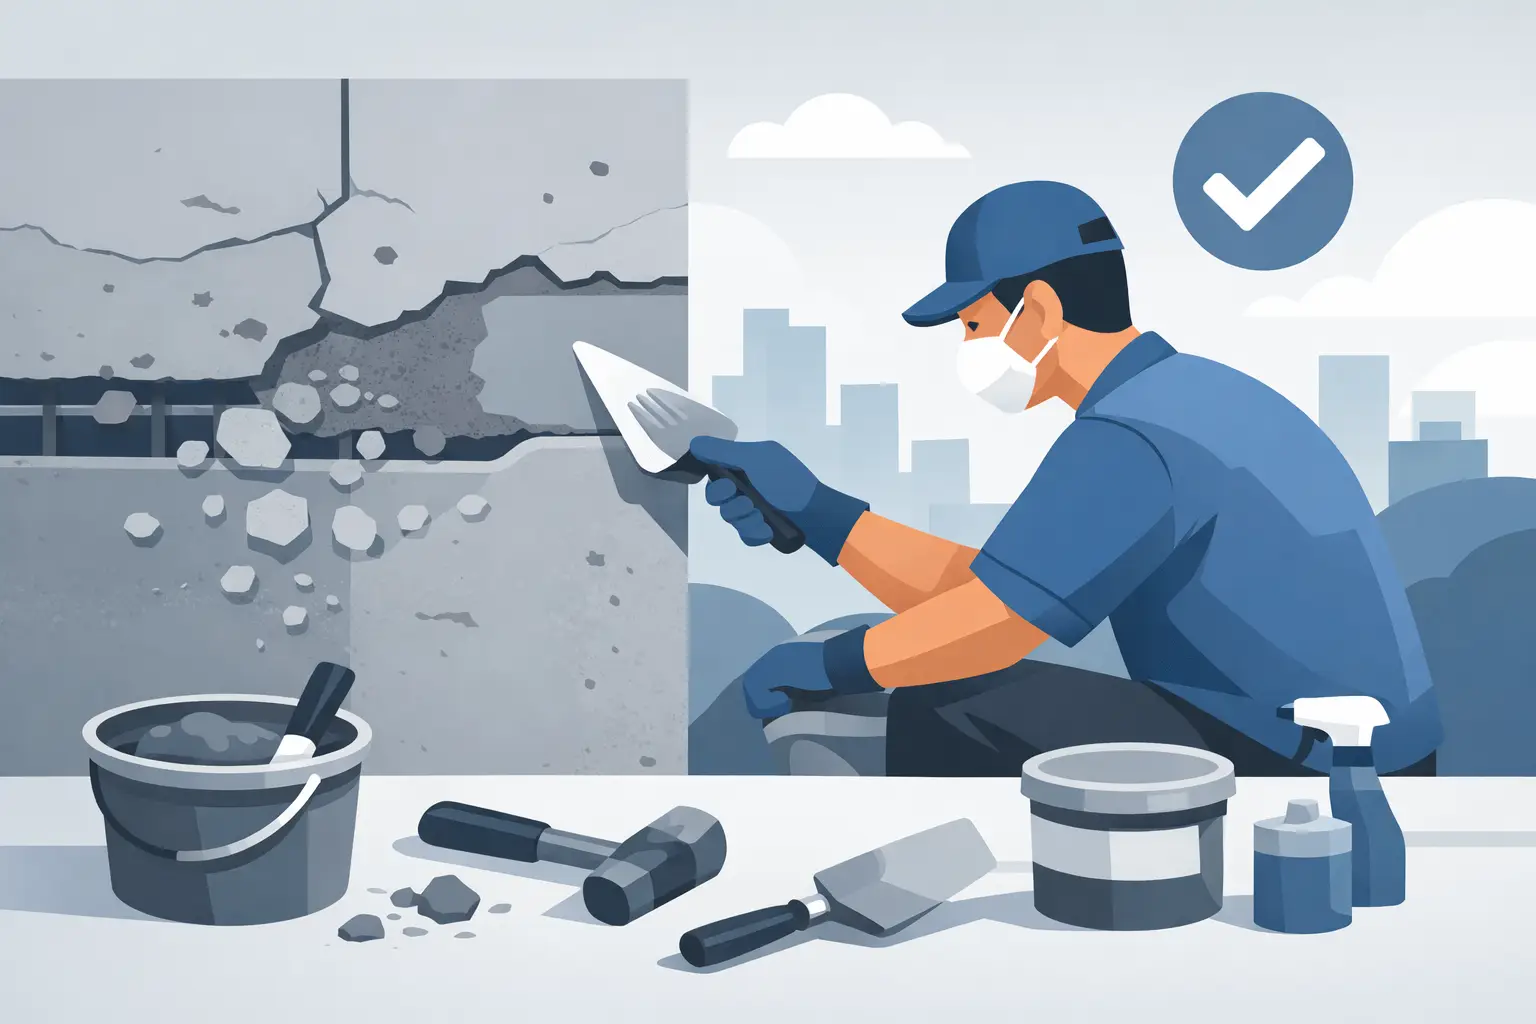
Small cracks should be cleaned out before filling. Remove loose particles with a wire brush, chisel, or compressed air. Fill cracks with a repair material designed for the crack width and location, then allow it to cure as directed. Do not assume a thin resurfacing layer can fill deep cracks properly.
For chipped corners, pop-outs, and spalled areas, cut away all weak concrete until you reach solid material. Patch the depression with a compatible repair mortar and shape the edge carefully. A sound repair needs a clean, stable base. Patching over soft or broken concrete may look acceptable for a few weeks, then fail under tire pressure and freeze-thaw cycles.
Expansion and control joints need special treatment. Do not fill active expansion joints with rigid resurfacer. These joints are meant to allow movement. Keep them clean, protect them during resurfacing, and use an appropriate flexible joint sealant once the surrounding work is complete.
Mix and apply the resurfacer in manageable sections
Read the bag instructions every time, even if you have used a similar product before. Add the specified amount of clean water first, then slowly add the resurfacer while mixing with a paddle. Mix until the material is smooth and lump-free. Adding extra water may make spreading easier, but it weakens the finished layer and increases the risk of cracking or dusting.
Work from the highest point toward the lowest point, generally in sections that can be completed without stopping. Pour the mix in ribbons and spread it with a long-handled squeegee. Push the material into the surface, then pull it evenly to create a consistent layer. Use a trowel along edges, around garage thresholds, and in areas where more control is needed.
Keep a wet edge between sections so the material blends together. If the driveway is large, divide it at natural control joints and complete one section at a time. This is often more reliable than trying to cover a broad driveway with a small crew and a rapidly setting product.
Add texture for safe traction
A perfectly smooth finish can become slippery when wet. Before the resurfacer hardens, lightly broom the surface in one consistent direction. This creates traction while maintaining a clean appearance. The broom should leave a subtle texture, not deep grooves that trap dirt and water.
Driveway appearance matters, but safe access matters more. A uniform broom finish is durable, practical, and suitable for most homes and commercial entrances. Decorative finishes can be considered, but they should never compromise traction, drainage, or the concrete’s ability to handle regular vehicle use.
Cure the Driveway Before Putting It Back Into Service
Curing time is not optional. Protect the resurfaced driveway from rain, foot traffic, vehicles, leaves, and sprinkler water according to the product instructions. Light foot traffic may be allowed within a day, while vehicle traffic often requires several days. Heavy trucks, trailers, or equipment may need a longer wait.
Do not apply a sealer too early. The resurfacer must cure and release moisture before sealing. Once the recommended cure period has passed, a quality concrete sealer can help reduce moisture absorption, salt exposure, staining, and surface wear. Sealers are maintenance products, not structural repairs, but they can extend the life of sound concrete when applied correctly.
When Resurfacing Is Not the Right Repair
Resurfacing is a strong option when the concrete slab is stable and the damage is mostly at the surface. It is not the right solution for widespread settlement, major structural cracking, poor subgrade conditions, severe drainage failures, or concrete that is breaking apart across large areas.
A professional assessment can prevent wasted money on a finish that cannot last. For driveways carrying heavier vehicles, serving commercial traffic, or showing signs of base failure, the repair plan may need excavation, drainage improvements, slab replacement, or a more substantial paving solution. The goal is not simply to make the driveway look new. It is to build a surface that performs reliably through traffic, rain, frost, and seasonal movement.
A clean, properly repaired concrete driveway improves curb appeal and safer access, but durable results depend on what happens below the surface as much as what is applied on top. If you are unsure whether your slab is a good resurfacing candidate, ASAP Paving And Masonry can provide straightforward guidance and a tailored estimate for a repair built to last.