A shed can look perfectly level on installation day and still develop a sticking door, cracked floor, or leaning walls a season later. The difference is usually below it. A properly built concrete base for shed storage gives the structure a stable, dry, and durable foundation that can handle weather, ground movement, and the weight of everything stored inside.
For homeowners, a shed base is not just a pad of concrete. It is site preparation, excavation, drainage, compaction, reinforcement, and finishing completed with precision. Skipping any one of those steps can lead to water pooling, frost movement, settlement, or premature cracking. A strong base protects the shed investment from the ground up.
Why a Concrete Base for a Shed Is Worth It
Wood skids, patio blocks, and gravel pads can work for lightweight or temporary sheds when the site drains well. They are not always the best choice for a larger storage building, a workshop, a garden shed holding heavy equipment, or a structure that needs a truly level floor.
Concrete provides a solid, reliable surface that spreads weight evenly across the prepared ground. It keeps the shed frame out of direct contact with wet soil, reduces shifting, and makes the interior more usable for mowers, tools, shelving, generators, and seasonal equipment. For a shed that is expected to stay in place for years, a concrete base is often the most lasting option.
It also makes maintenance simpler. A level foundation helps doors open correctly, prevents unnecessary stress on wall panels, and limits the gaps where pests and moisture can enter. The base must still be designed for site conditions, though. Clay soil, poor drainage, sloping yards, and areas with freeze-thaw cycles all require added attention before concrete is poured.
Start With the Right Location and Size
The best shed location is not always the most convenient open spot in the yard. Low areas collect runoff. Ground beside a downspout can stay saturated. Tree roots can create movement and make excavation more difficult. Before work begins, the site should be reviewed for slope, existing drainage patterns, underground utilities, access for excavation equipment, and local setback requirements.
A concrete base is typically made slightly larger than the shed footprint. This provides full support beneath the walls and prevents the building edge from sitting too close to the slab edge. The exact overhang depends on the shed manufacturer’s requirements and the way the structure will be anchored. Planning the finished dimensions before excavation avoids a costly adjustment after the concrete is in place.
For larger sheds, workshops, or commercial storage structures, it may be necessary to consider vehicle access, equipment loads, and local permit requirements. A slab for hand tools is different from a slab supporting a riding mower, ATV, or compact utility equipment. The intended use should guide the thickness, reinforcement, and preparation work.
Excavation and Compaction Create the Real Foundation
Concrete is only as dependable as the material beneath it. Pouring directly over grass, topsoil, loose fill, or uneven ground is a common cause of settlement and cracking. Organic soil holds moisture, breaks down over time, and cannot provide stable support.
The installation begins by removing sod, roots, topsoil, and other unstable material. The area is then excavated to allow room for the compacted aggregate base and the concrete slab. On a sloped property, this may involve grading, retaining work, or additional excavation to create a properly level building area without creating drainage problems around the shed.
A crushed stone base is placed and compacted in layers. Compaction is not a cosmetic step. It locks the aggregate together, creates a firm bearing surface, and helps limit future movement. The base also supports drainage beneath the slab, which is especially valuable where water tends to remain in the soil after rain or snowmelt.
The required depth of excavation depends on soil conditions, slab thickness, and local climate. In areas exposed to frost, the base and surrounding grading need to be planned carefully to reduce the risk of heaving. A contractor should never assume every yard needs the same depth or the same preparation.
Drainage Must Be Solved Before the Pour
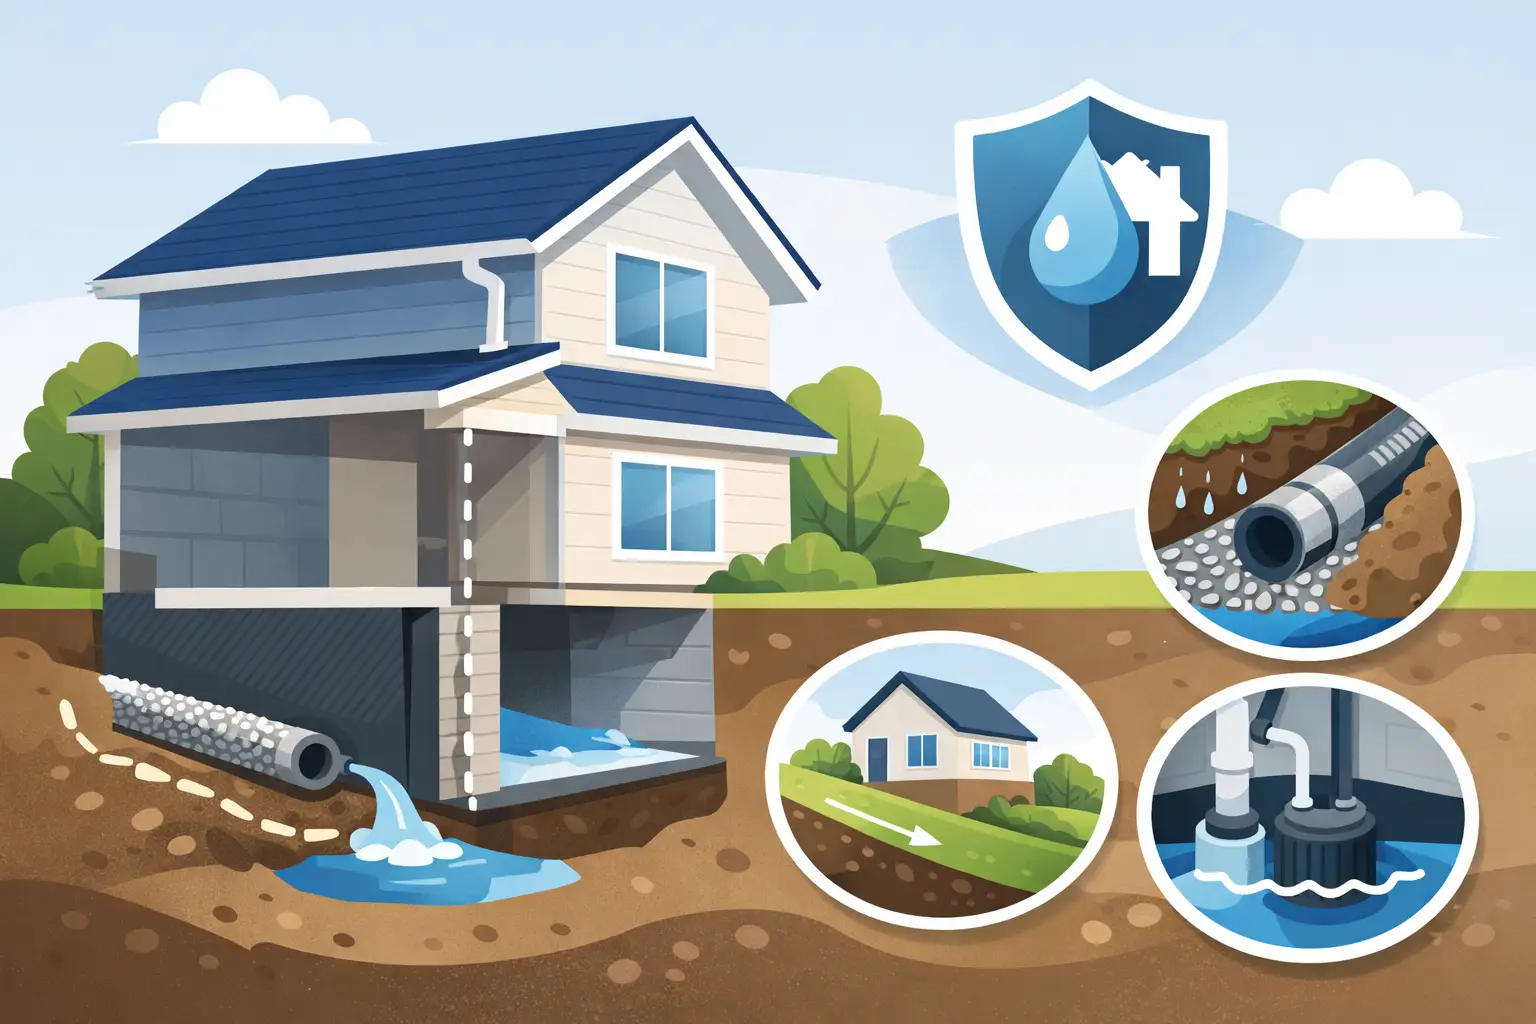
Water is one of the main threats to any exterior concrete installation. When water collects beneath or against a shed slab, it can soften the subgrade, cause settlement, increase frost movement, and direct moisture toward the shed walls.
The finished site should be graded so water moves away from the shed rather than toward it. In some yards, this can be achieved by shaping the surrounding soil and controlling roof runoff. In others, a drainage solution such as a swale, catch basin, or drain line may be needed to manage persistent water.
The slab itself should be level enough for the shed installation, but the surrounding landscape should not trap runoff at its perimeter. This is a detail that makes a major difference over time. A strong concrete base with poor drainage can still face avoidable damage.
Slab Thickness and Reinforcement Depend on Use
For many standard backyard sheds, a 4-inch concrete slab over a properly compacted stone base is a practical starting point. However, thicker concrete may be appropriate where the shed will store heavier equipment, where soil conditions are poor, or where the slab includes thickened edges for added support.
Reinforcement helps control cracking and improves the slab’s ability to perform under normal movement and loading. Depending on the project, this may include welded wire mesh, rebar, or both. Reinforcement does not eliminate all cracks. Concrete naturally shrinks as it cures, and minor cracking can occur. The goal is to manage that movement and prevent cracks from becoming structural problems.
Control joints are also important. These planned joints encourage concrete to crack along controlled lines rather than in random locations. A clean joint layout improves both the appearance and long-term performance of the slab.
For a prefabricated shed, check the manufacturer’s installation instructions before finalizing the design. Some sheds need anchor bolts, while others require specific slab dimensions, edge details, or moisture protection. Building the base to match the shed requirements prevents delays when delivery or installation day arrives.
The Pour and Finish Need Precision
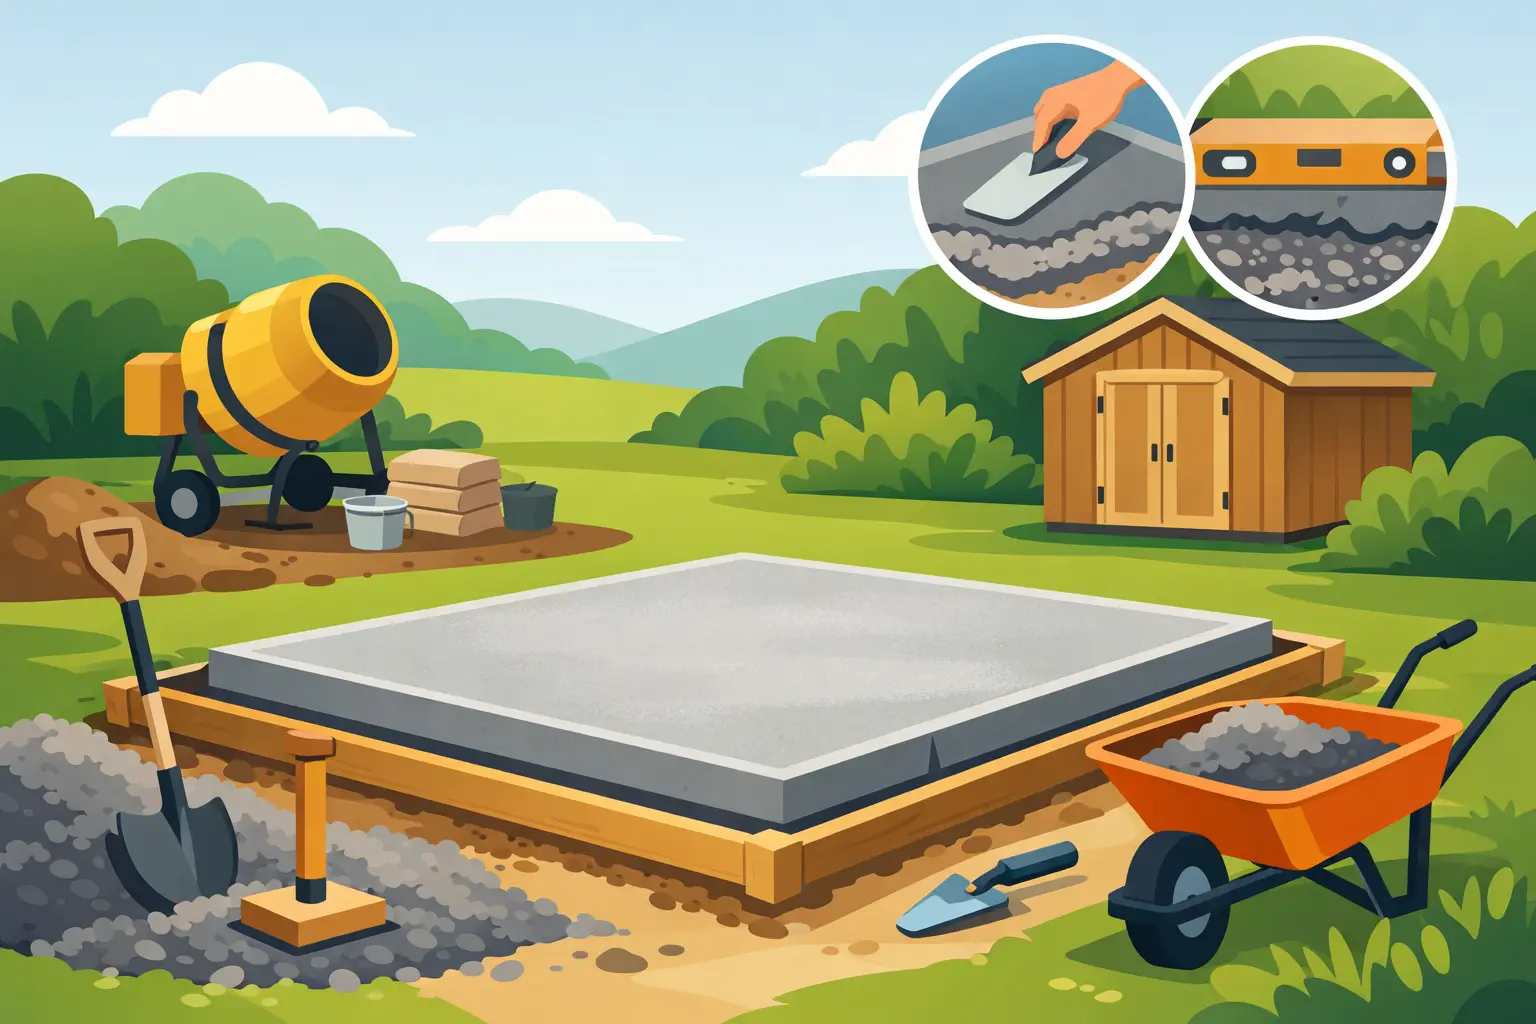
Once the base is compacted, forms are set to the correct height and square layout. This stage determines whether the shed will sit level, so measurements should be checked carefully. Reinforcement is positioned correctly within the slab, and any planned anchors or sleeves are confirmed before concrete arrives.
Fresh concrete is placed, spread, consolidated, screeded, and finished to create a smooth, even surface. For most shed applications, the finish should be flat and practical rather than overly polished. A lightly textured finish can provide better traction near doors while still allowing equipment to roll in and out easily.
The edges should be finished neatly, and the slab should be protected from rapid drying, heavy rain, or freezing temperatures during the early curing period. Rushing this process can weaken the finished surface and increase the chance of cracking. Concrete gains strength over time, so the shed should not be placed on the slab until it has cured sufficiently for the planned load.
Common Mistakes That Shorten a Shed Base’s Life
A base can look good at first and still fail because of poor preparation. The most common issue is pouring over soil that has not been excavated and compacted correctly. Other problems include using an undersized slab, ignoring drainage, placing reinforcement on the ground instead of within the concrete, and installing the shed before curing is complete.
Another mistake is treating visible cracks as the only sign of trouble. A hairline crack may be normal, while a slab that has settled, tilted, or separated at one corner points to a support or drainage issue below. Addressing water flow and soil stability early is more reliable than repeatedly patching surface damage.
Professional site preparation is particularly valuable on properties with uneven grades, wet soil, limited access, or heavy-use storage needs. The job requires more than a concrete truck. It requires an accurate layout, reliable excavation, stable aggregate, effective drainage, quality materials, and a finish built to perform.
ASAP Paving And Masonry provides concrete base installation with the same focus on strength, precision, and lasting results used across its paving, drainage, excavation, and foundation work. A clear on-site assessment helps determine the right base design for the shed, soil, and expected use.
A shed deserves a foundation that stays level after the first storm, the first winter, and years of regular use. Start with proper ground preparation, give water a clear path away from the structure, and build the concrete base to carry the load with confidence.